Bike to Work Week: prepping for the bike ride
Bike to Work Week: prepping for the bike ride
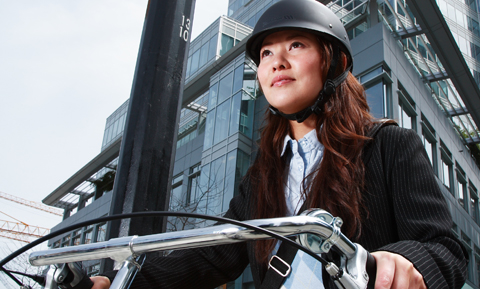
If you’re new to Bike to Work Week, do you need gear or anything to be ready for the ride? (Besides a bike and a helmet, obviously!)
Well, I turned to the experienced cyclists at TransLink for their advice on preparing for the Week. (I’m going to need it, as I’ll be cycling to work!) Let’s see what they have to say.
Clothing
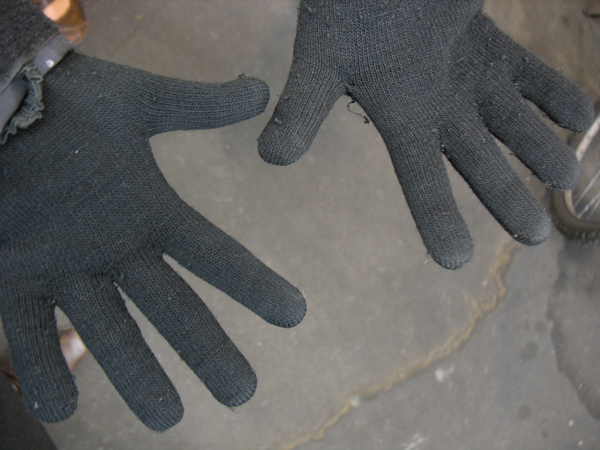
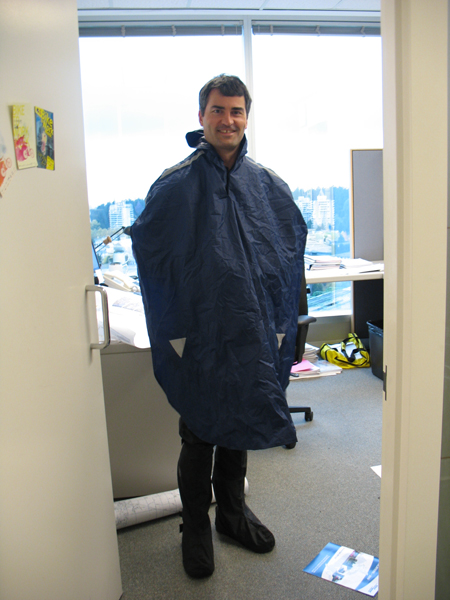
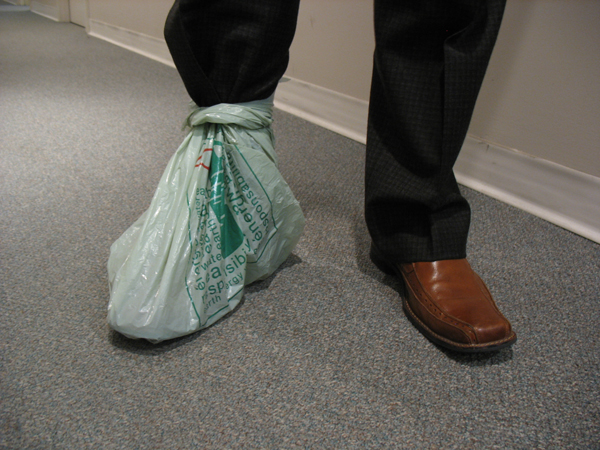
What clothing do you need to cycle in winter? Especially if it’s raining?
The short answer is that you don’t need that much past a few basics.
The key items for winter cycling are gloves, a jacket, and shoes.
These items form the base of your winter cycling outfit. If it’s cold, they will keep you warm. If it’s raining, waterproof or water-resistant versions of these items will keep you dry and give you a much more comfotable bike ride.
Wet, cold hands and feet can make it very hard to ride. I’m also told that it really sucks to ride in squishy wet shoes!
Essentially, you can start with what you have, and later on, if you get more into cycling, then you can decide to get more clothes, or upgrade to better clothing.
You don’t need every piece of bike clothing to start, and you certainly don’t need the most expensive versions of everything. Do what works for you!
For example, cheap stretchy magic gloves are perfectly good for winter riding.
Water-resistant jackets will be cheaper than waterproof jackets.
For your feet, if you already have hiking boots, those are a great option. You can also get a cheap pair of rubber boots. Or use your regular shoes, but buy special “booties” to keep them covered.
In a pinch, you can cover your regular shoes in plastic bags (no, really!). Or you can even just wear an extra pair of socks, so you have extra warmth and wetness protection. Or take an extra pair of socks to change into once you arrive at your destination.
And in case you do want a bit more clothing for the ride, rain pants, and a helmet cover are some other items you might try. These will really help keep you dry in a downpour.
Gear for your bike
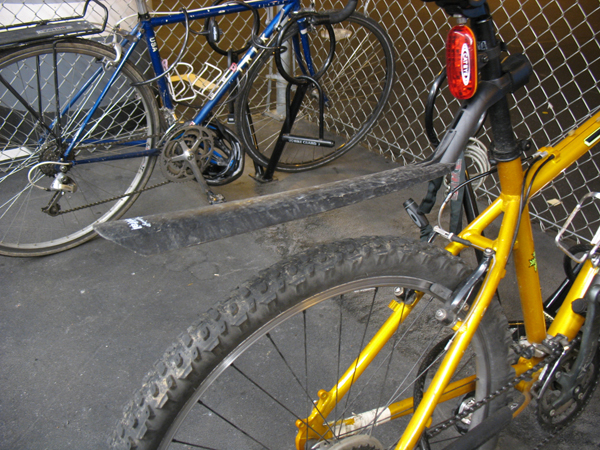
Lights are the only item that your bike absolutely needs. You’re required by law to have lights on your bike after dusk, to help you stay visible to cars and other traffic.
Headlights obviously go in the front of the bike, and taillights in the back – adequate headlights cost roughly $13 and taillights about $6. Many models use LEDs, so you won’t need to change the battery often.
But besides lights, you can always just start with what you have, and then choose to upgrade as you bike more regularly.
There are certainly items that can make your ride better, though.
Fenders keep you from getting sprayed by water coming off your tires. Bring your bike to a bike shop to get the right size, and you can have the store install them or do it yourself.
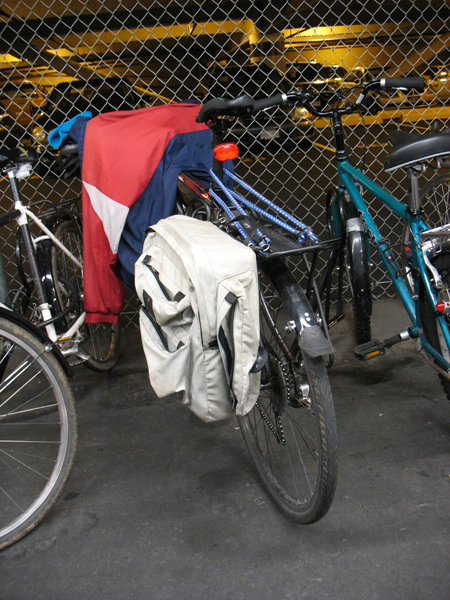
They can cost from about $12 to $50 for a set of two. At the low end are clip-on fenders, which will protect you from the worst splashes. In the $25-30 range, you can get ones that fully attach and cover the wheel. These will keep you pretty dry.
And bells can help you let others know that you’re coming through.
To carry things to work on your bike, there are a variety of strategies.
You can take a good old fashioned backpack. Waterproof is nice! Or use a rack, which goes on the back of your bike. You can then hang bags called panniers on the rack, which carry all your stuff.
And baskets go in the front of your bike.
If you don’t know what solution is right for you, do head down to your local bike shop and they can help kit you out and install your selection, if needed.
Resources your work might offer
One last thing to do is to check out what cycling resources your workplace offers.
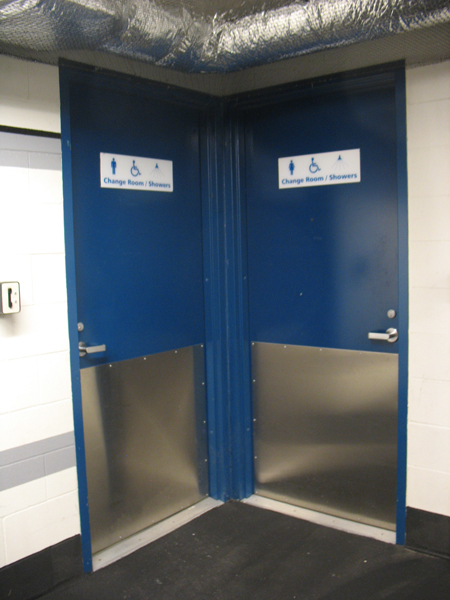
For example, if you want to shower after your ride, some companies provide shower facilities for employees. Or if your building has a gym inside or nearby, they often have showers that you can access.
(If you don’t plan to shower, I’m told you might want to bring some deodorant to freshen up, just in case!)
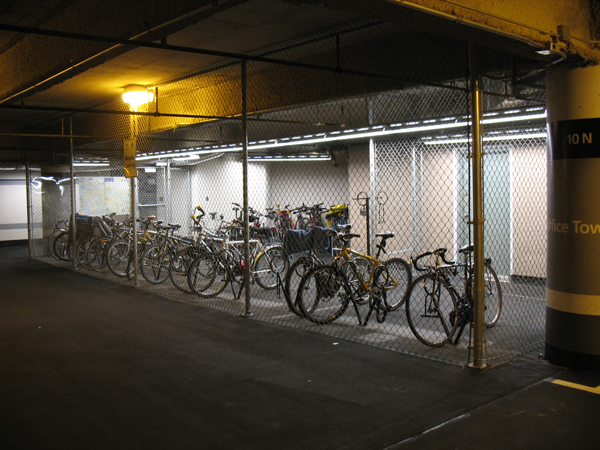
There may also be secure bike parking available to you. For instance, the Metrotower office complex offers secured bike parking in their parking lot. You need to sign up to get a key, so that’s something to get organized before biking to work.
You can obviously still park quite safely at many bike racks. And there’s some good strategies for picking a good bike parking spot.
Choose somewhere that’s visible, with high pedestrian traffic – that way bike thieves don’t have a secluded spot to work on taking your bike. Double lock your bike if you can, with a cable lock and a U-Lock.
And please share in the comments if you have more bike locking/security strategies, or other bike prep advice too!


You kind of passed over helmets there. Yeah, you definitely need one. Don’t leave home without it.
But that cooking pot in the picture? Probably okay for cold-weather riding, but when the temperature hits 30 like it did this summer you’re going to want something which has a bit more ventilation.
[…] The Buzzer blog » Bike to Work Week: prepping for the bike ride buzzer.translink.ca/index.php/2009/10/bike-to-work-week-prepping-for-the-bike-ride – view page – cached If you’re new to Bike to Work Week, do you need gear or anything to be ready for the ride? (Besides a bike and a helmet, obviously!) — From the page […]
Thanks for not harping on about the helmets and not sending the message that cycling sure is dangerous. This is a great piece that focuses on just how easy it is to gear up for winter riding.
Vancouverites are mature and responsible enough to come to their own personal conclusions on the helmet thing, and there is a law, after all, to force things in the end. Surely protective headgear won’t be needed to ride a bicycle in the greenest city on earth…?
Bells are legally required in the City of Vancouver, and in other municipalities as well.
Wool clothing is good because it keeps you warm even when wet.
I find an umbrella is handy in heavier rain.
A reflective vest is good if your regular rain jacket doesn’t have reflective stripes.
Check out Let’s Go Ride a Bike’s “How To: Dress for Fall Cycling” http://letsgorideabike.wordpress.com/2009/09/23/how-to-dress-for-fall-cycling/
Paul, it’s definitely cold and wet out there!
D: You’re naiive. A helmet is a mandatory piece of safety equipment — not so much because the law says so, but much more importantly, because it’s pure common sense.
Even a low-speed fall or collision can cause permanent head injury or death. Helmets are cheap, comfortable, and easy to obtain. What argument is there *against* wearing them?
As for bells — I believe they are required by law, too (in addition to lights) — or at least they are in Ontario; maybe the laws are different here. In reality, a little dinger bell is useless against motor traffic (a scream or shout works much better and more quickly), but are useful for signalling pedestrians or other cyclists whom you are approaching from behind.
-b
I understand during this economic down turn BC Transplant needs your support. Modern technologies have made it more difficult than ever to find contributors.
Don’t forget to register as a donor today!
Re: helmets — Well, I do mention helmets in the very first paragraph, but since most people know it’s a key item, I didn’t mention it more. But yes, helmets are required by law (and do make sense, as ben K suggests), so please make sure you have one if you are riding!
Also, I can’t tell if the comment about transplants is spam or a sideways hint about unsafe biking. ???
As a moderator, I leave to you descretion if comments are inappropriate.
Yes Walmart services and BC Transplant was a suggestion for those that felt safety is not an issue.
Far be it from me to naively suggest that safety is not an issue, but I thought I’d congratulate the Buzzer for focusing on the positive aspects of riding, rather than the danger. My apologies for any inadvertent offense I may have caused, and thanks for your concern and kindly delivered advice!
Don’t forget about the bike lockers at skytrain stations. Biking and riding makes a great combination. Some people even have 2 bikes and 2 lockers for both sides of thier commutes. $100 per year or $10 per month for a minimum of 3 months.
[…] people ready for winter riding. I wrote some winter riding tips up for the blog: here’s one on prepping for your ride, plus five things learned from riding (plus five more lessons!), and how to care for your bike in […]
[…] Bike to Work Week: prepping for the bike ride […]
[…] What to wear cycling […]
[…] What to wear when you’re cycling […]